A few weeks ago I joined Leo Dion to talk about all things Callsheet. The episode is a really great overview of my thought processes in creating Callsheet, some of the problems I had along the way, and also some of the wins. Callsheet is a labor of love, and I think (and hope!) that really comes across, especially in this interview with Leo.
We also reflect upon our mutual time as C# developers, which is a time I miss more than I often admit to myself.
Leo’s interview is available as a podcast or as a video. No matter how you prefer it, the interview runs a little shy of 90 minutes. There’s also a transcript if that’s more your speed.
About a month ago, I bought myself a portable monitor. At least once a week, I like to work from somewhere other than my house. Usually that’s one of our amazing local libraries, but sometimes that’s the café area in a local grocer.
I had been using Sidecar for this, with my 11" iPad Pro, but I find Sidecar to be mostly reliable and mostly without latency. But it never seems to be completely reliable nor completely without latency. Even if I plug in a USB-3 cable.
I wanted something small, light, thin, and bus-powered, so I could have a single USB-C connection between my computer and the monitor — nothing else. For bonus points, a monitor that was at or near “Retina”, so it doesn’t look like pixellated garbage next to my incredible MacBook Pro screen.
I landed on this Arzopa 13", 2K mointor. I’ve been using it on-and-off for the last month, and I like it. As I write this, it’s currently on sale at Amazon for $116, down from the $136 normal price, and cheaper than the $130 I paid for it.
Pros
- Extremely thin and light
- Comes with a cover that can be used as a stand
- Bus-powered
- Looks retina to my [admittedly bad] eyes
- When the settings are tweaked just right, can get reasonably bright
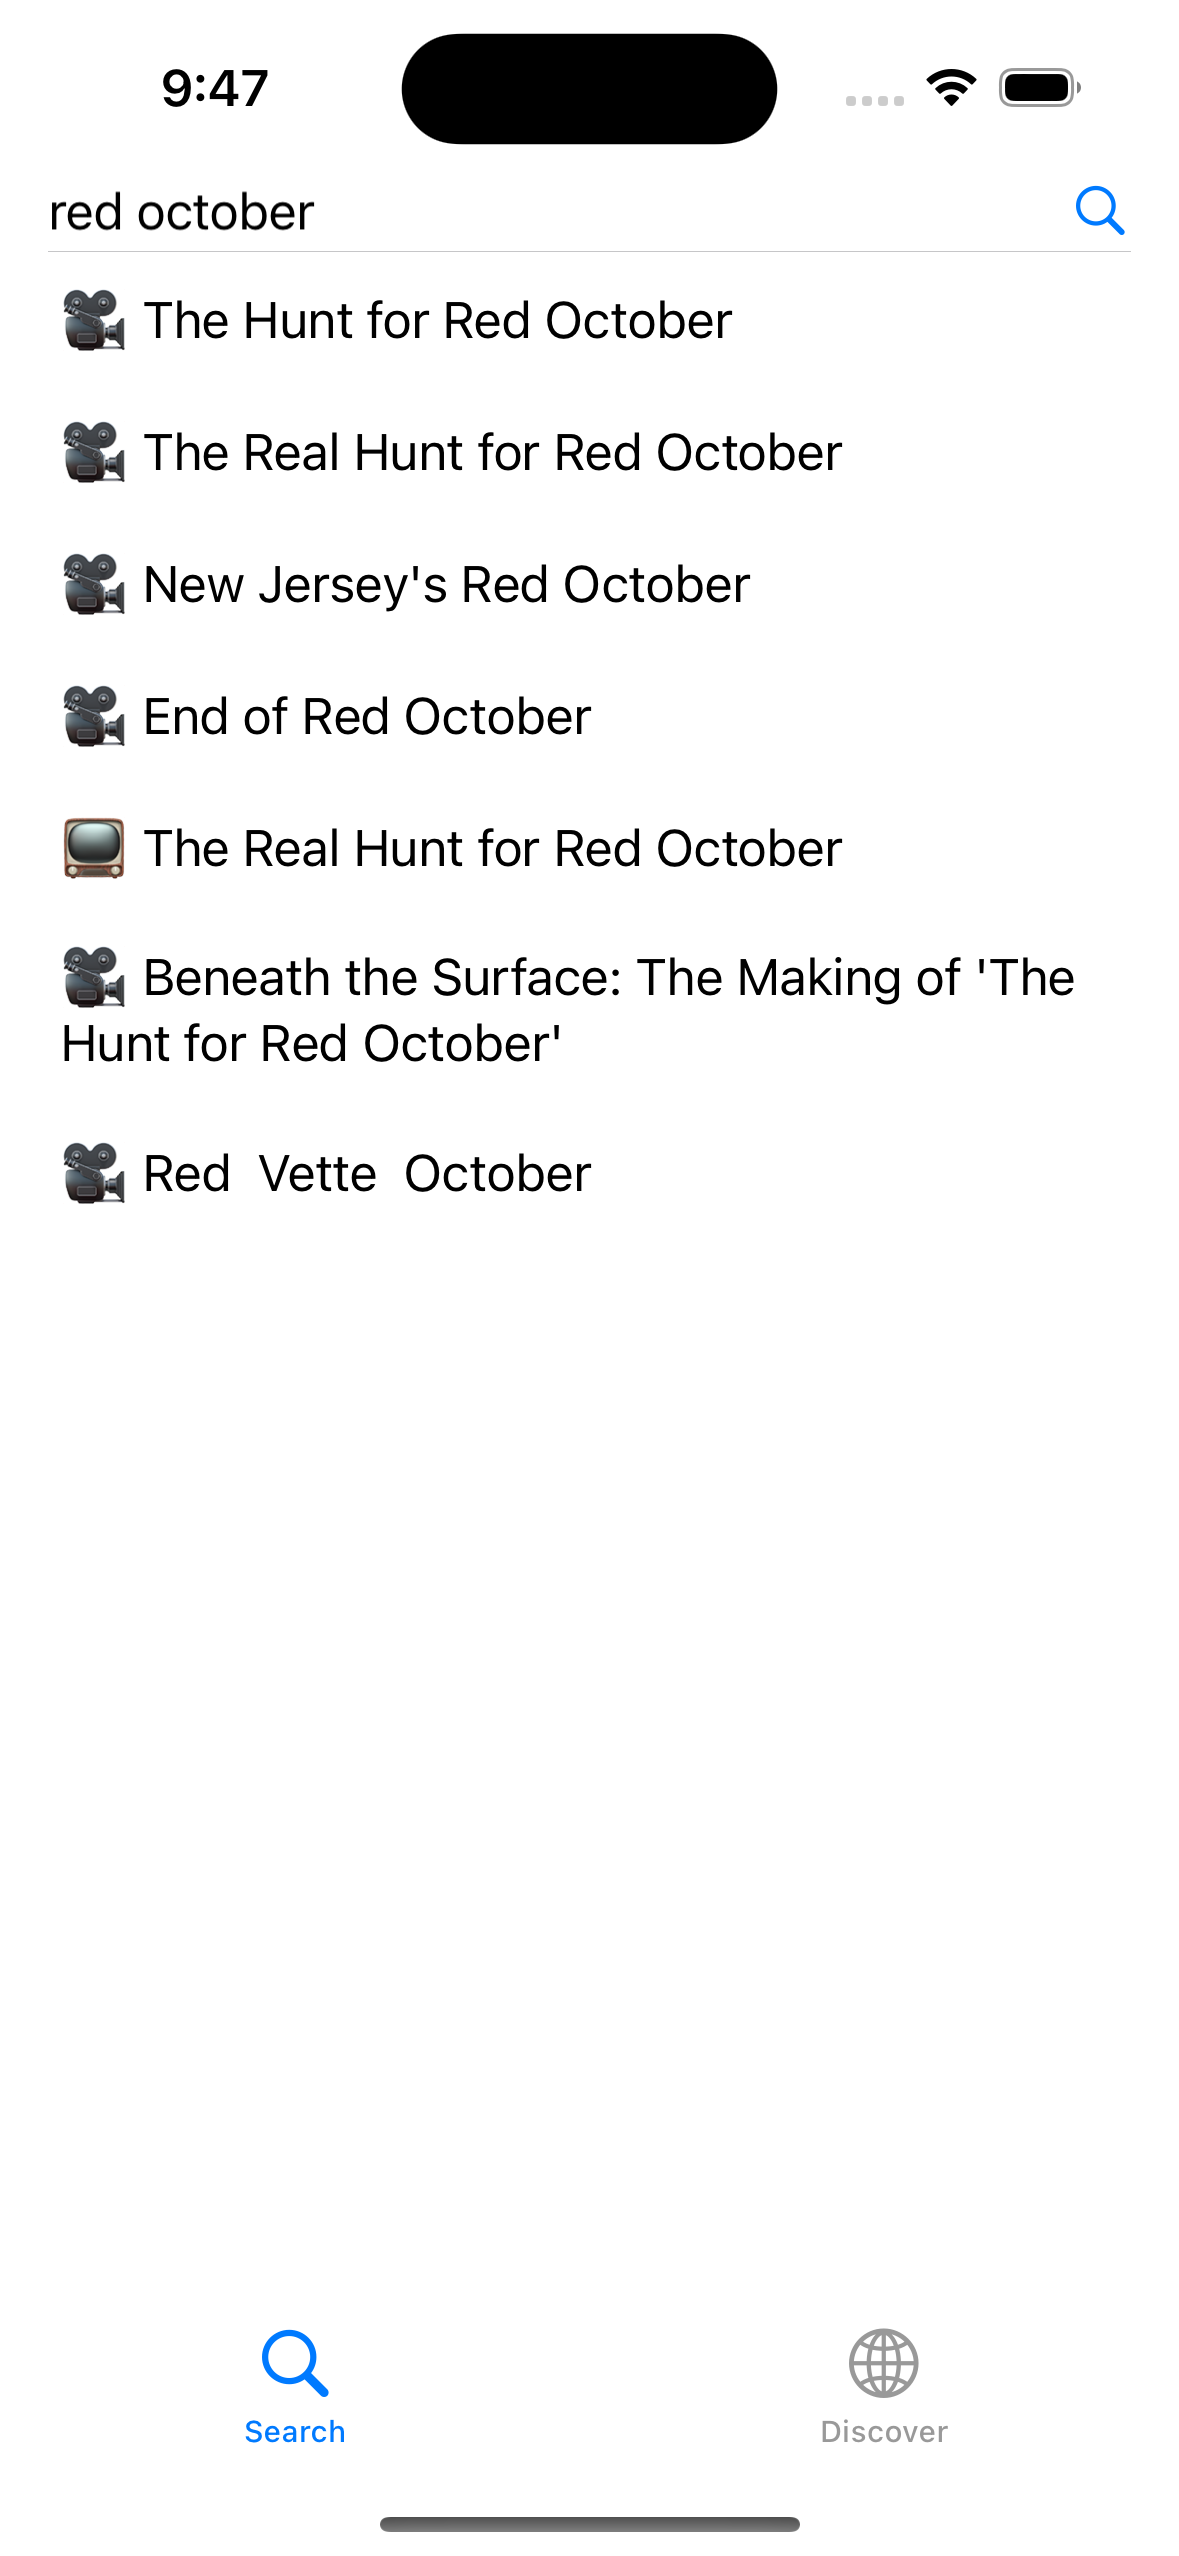
- Can also operate as a portable TV, with the provided Mini-HDMI ↔ HDMI cable
Cons
- The cover/stand is extremely flimsy, and depending on what surface it’s on, can sometimes slide about. It’s enough, but just barely
- The monitor defaulted to HDR mode, which sounds great, but ended up being way too dim. Once I turned off HDR and cranked up the brightness, it was much better
- The speaker, naturally, is trash
- It will never be as bright as the MacBook Pro’s screen; it’s only 300 nits, but indoors, that has been plenty
Ultimately, you get what you pay for, but $116 for a pretty-nice portable monitor for use when I’m out and about is perfect.
Today, I joined my pals Kelly, Lex, and Mikah on Clockwise.
On today’s episode, we discussed our must-have streaming service, our favorite not-home and not-work place to get work done, our webcam setups, and our most-used iPhone accessories.
Clockwise is always a fun time, and always fast. I particularly enjoyed this episode — despite Dan’s absence — and always enjoy chatting with these three. :)
Callsheet’s release has been a whirlwind. I’m completely overjoyed by the response. I am incredibly thankful to anyone who has tried Callsheet, purchased it, or told their friends about it. Y’all are the best. 💙
Yesterday I pushed a new version to the App Store, and it is rolling out slowly over the next week or so. I wanted to highlight some of the changes I think are pretty fun.
Short-short Version
- TV spoiler settings are now honored when viewing a person’s filmography
- When viewing a person, their age is shown on their filmography
- Mid- and post-credit scenes are now shown for movies
- Now shows what you’re actively playing in Channels and, experimentally, Plex
Honoring TV Spoiler Settings in Filmographies
Probably the most often requested feature right now is something that I’ve been planning to do for a while. However, it was — at least at first glance — far more complicated than you’d expect.
From the start, Callsheet would let you optionally hide spoilers for
individual TV shows — things like character names, the number of
episodes they’re in, episode titles, episode thumbnails, etc. In Callsheet
2023.3, I added the ability to set a global default for these same settings.
In Callsheet 2023.4, those settings are now honored when viewing a person’s
filmography. There is also a button to toggle between hiding and showing the
spoilers. Naturally, it defaults to hiding.
People’s Ages
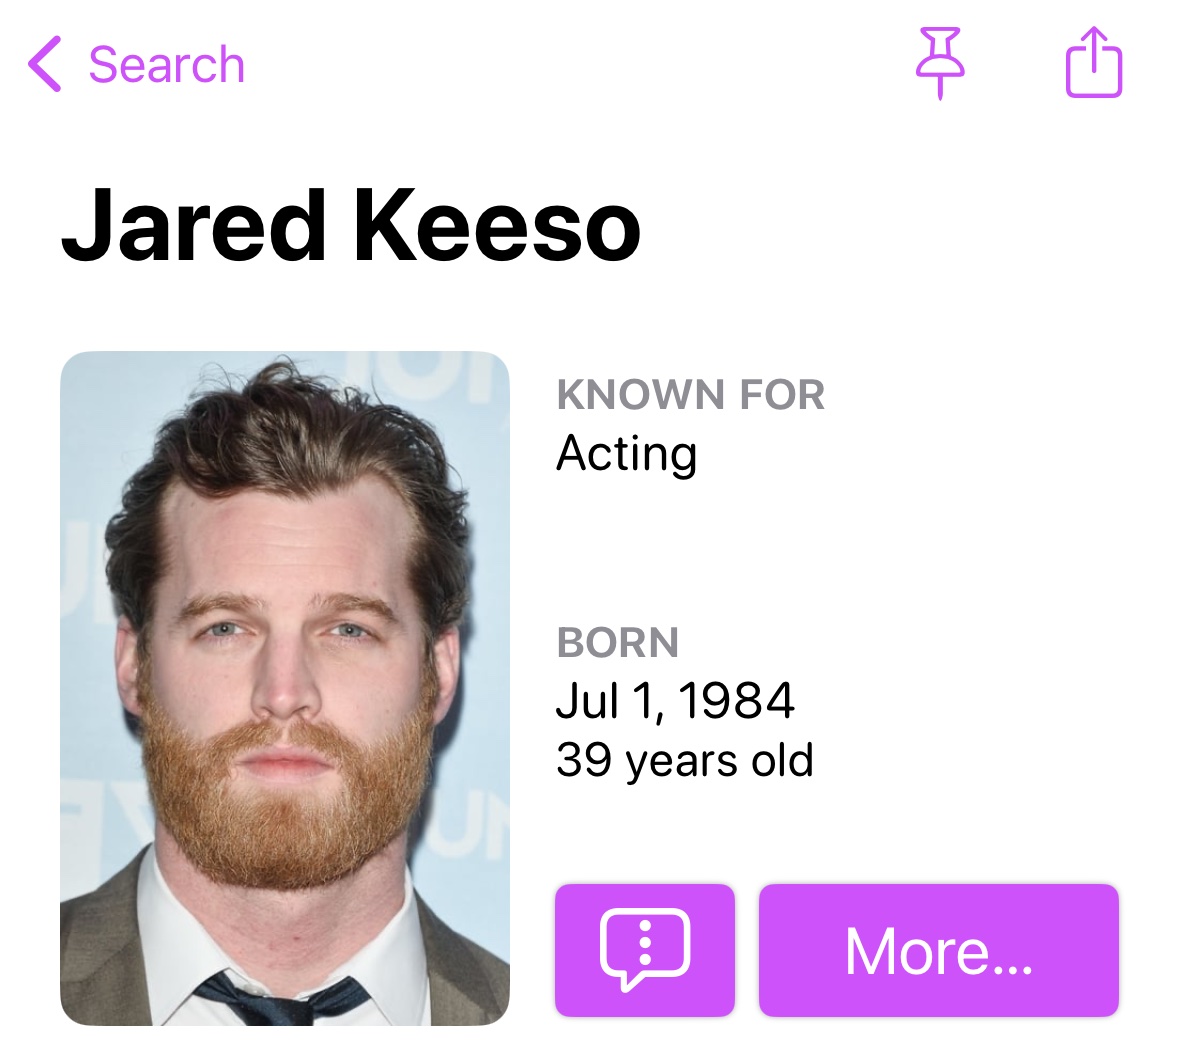
When looking at an actor or crew’s filmography, I often want to know how old they were when they worked on a film or TV show. Before, this was some reasonably easy mental arithmetic: the person’s birth year is prominently displayed at the top of their screen on the app:
However, our devices are, at their core, arithmetic machines. Why not make them do this math, so I don’t have to? So, for people, you can see their ages in the year header:
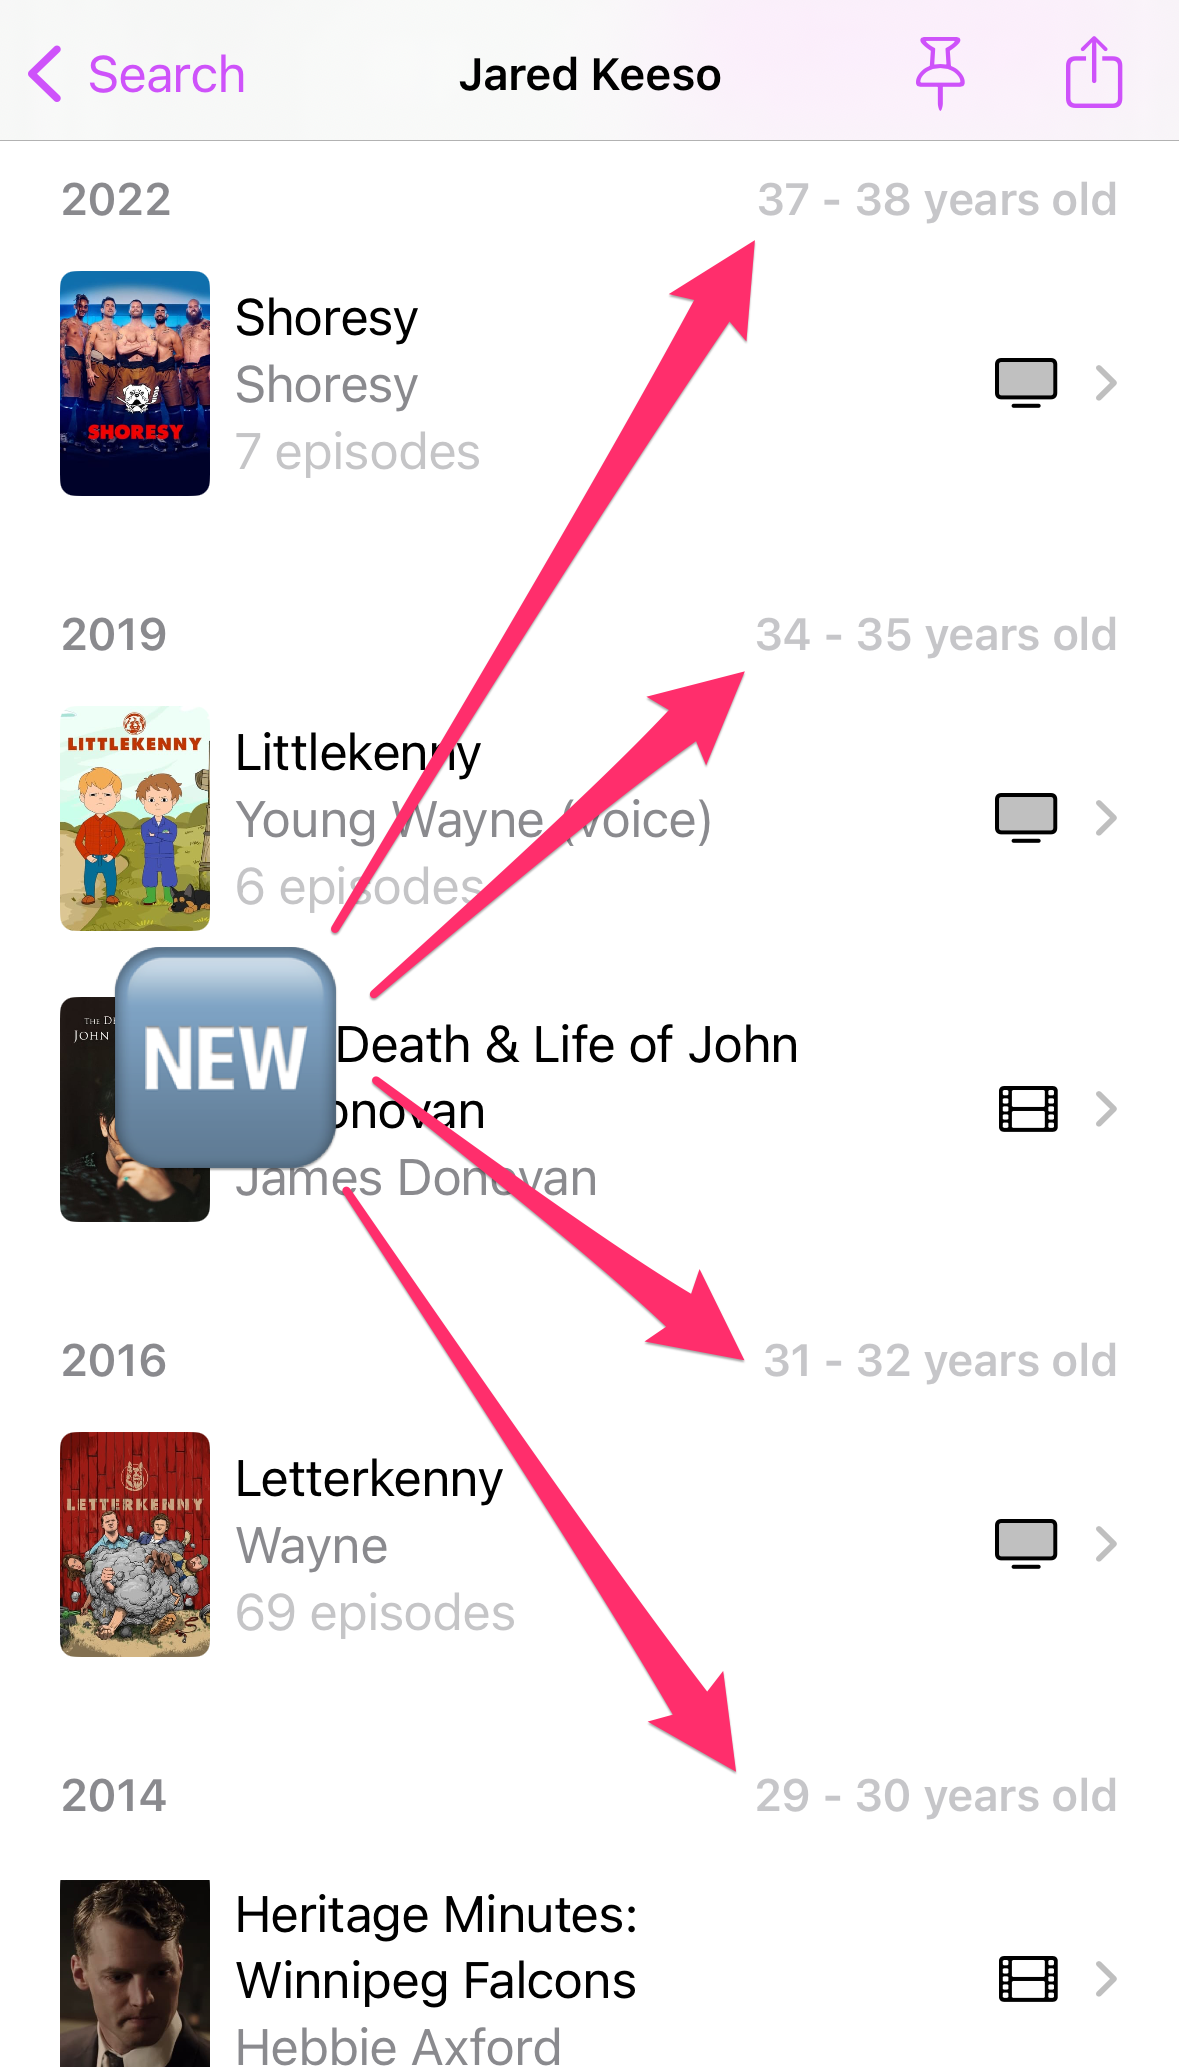
I’m noodling on the best way to represent this information on cast/crew lists for movies and TV shows. 🤔
Mid- and Post-Credits Scenes
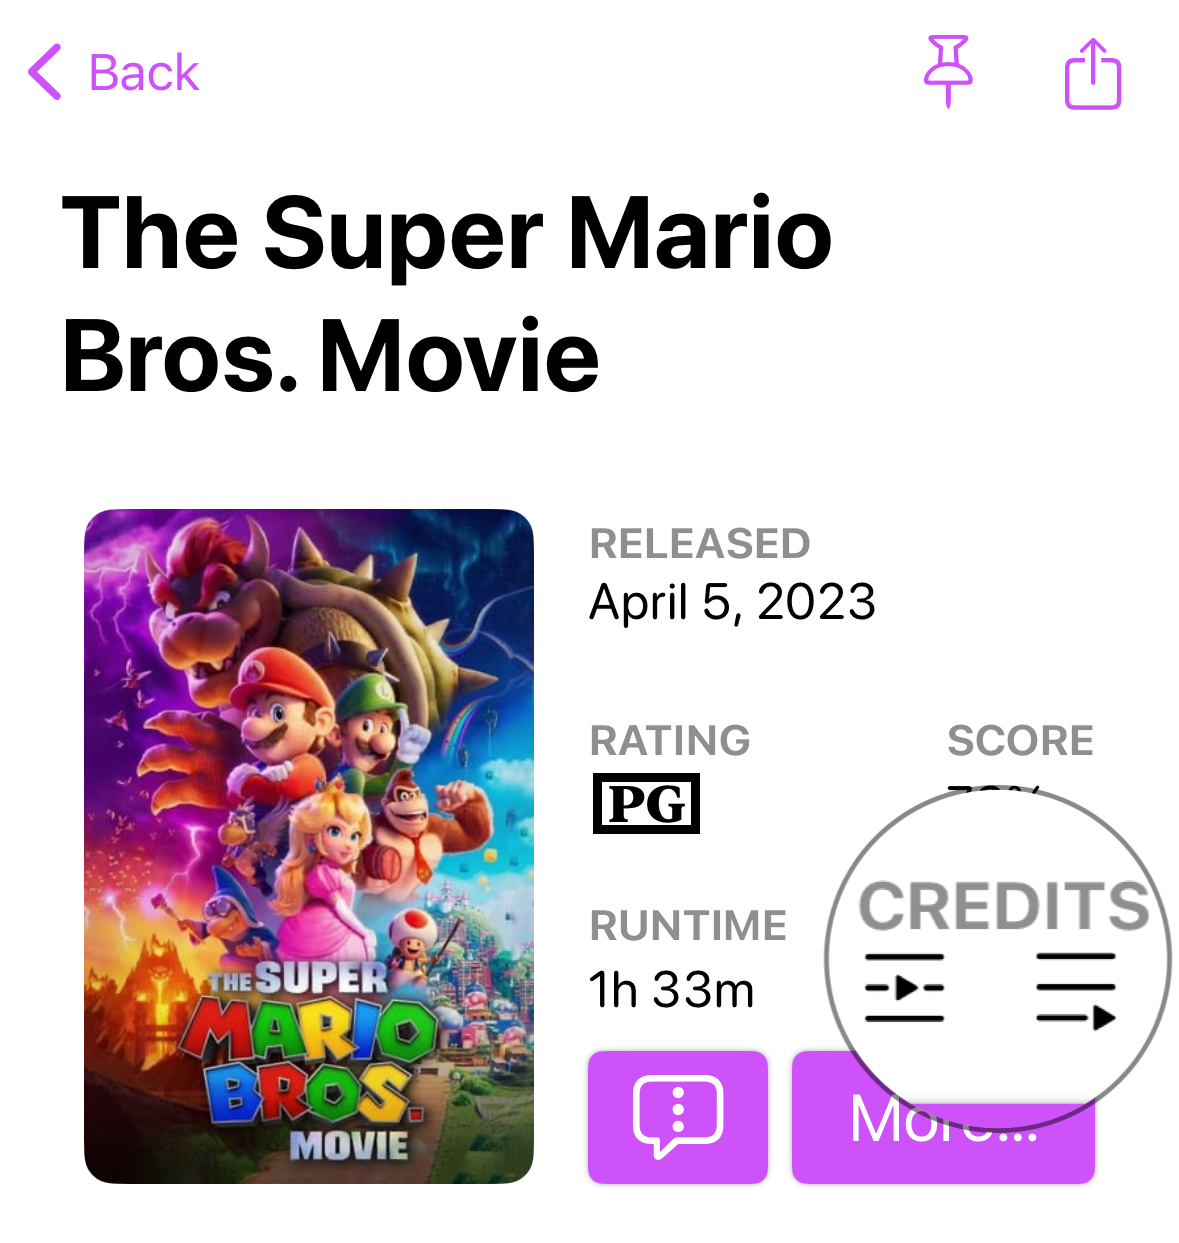
Something else I’ve been asked for a lot is the ability to know if a movie — particularly one currently in theatres — has a bonus scene during or after the credits. I didn’t think The Movie Database had this information, but I was wrong. As it turns out, there is a de facto standard for this!
Next, I turned to my friend Ben McCarthy, the author of the excellent Obscura — and the creative force behind a lot of the Callsheet UI. Ben and I went back-and-forth on some SF Symbols-style icons to represent mid-credits and post-credits scenes. You can see them both here. I’m quite pleased with what they came up with. 😎
Integrations
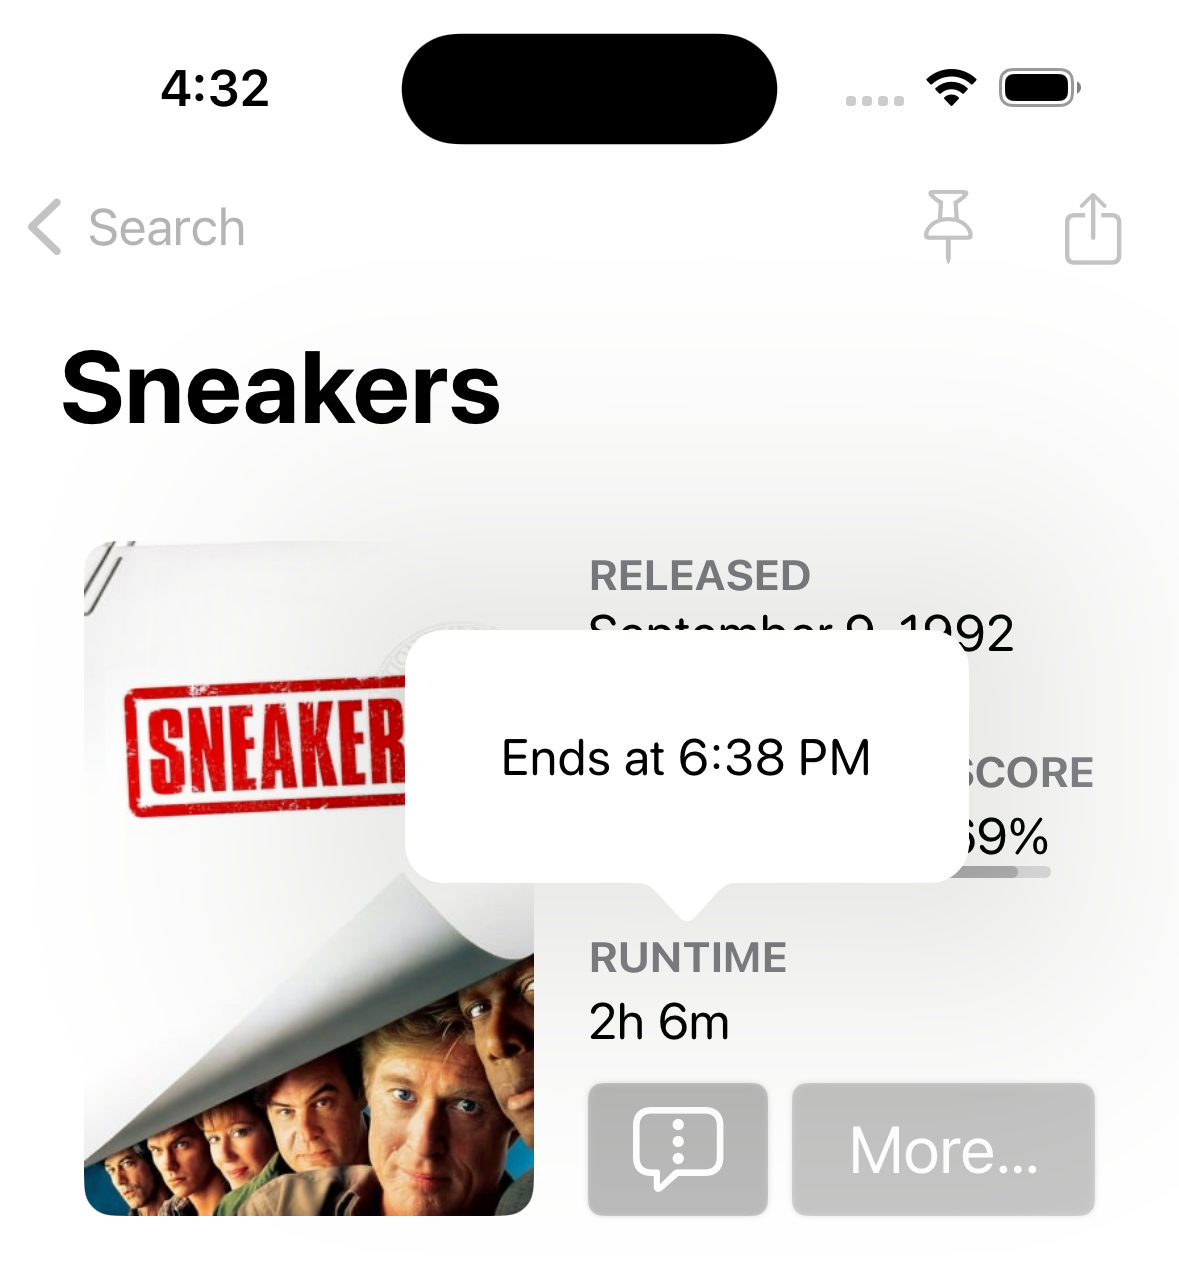
One of my tenets when designing Callsheet was to meet users where they are. This is not a particular revelation, but it is a nice “north star” to guide my decisions and priorities. This is evidenced in simple ways, like tapping on the runtime for a movie to see when it would end, if you start it right now:
The most obvious way to meet a user where they are is to offer to show them information about the thing they’re currently watching. Unfortunately, Apple doesn’t offer any sort of API for this on the Apple TV. There are allegedly ways to get that information anyway, but it’s extremely convoluted, and prone to break at any time.
Naturally, Callsheet is an app written by me… for me. And for me, the two primary
ways I consume content are Plex and Channels. Callsheet 2023.4
includes Channels integration, as well as an experimental Plex integration.
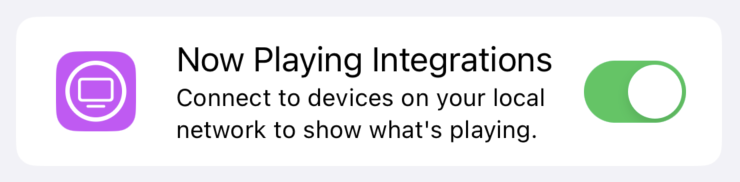
Both of these integrations are opt-in. In order to enable them, you must go into the in-app settings, and turn on integrations. Both the Channels and Plex integrations work by polling, which means your device will ping away at the network asking “Is anyone here? Are you playing anything?” over and over again. That’s not a bad thing, but it’s not the sort of thing I want your average user to be opted into without their knowledge.
Channels
When everything is turned on, you should see something like this when Channels is playing on a local Apple TV:
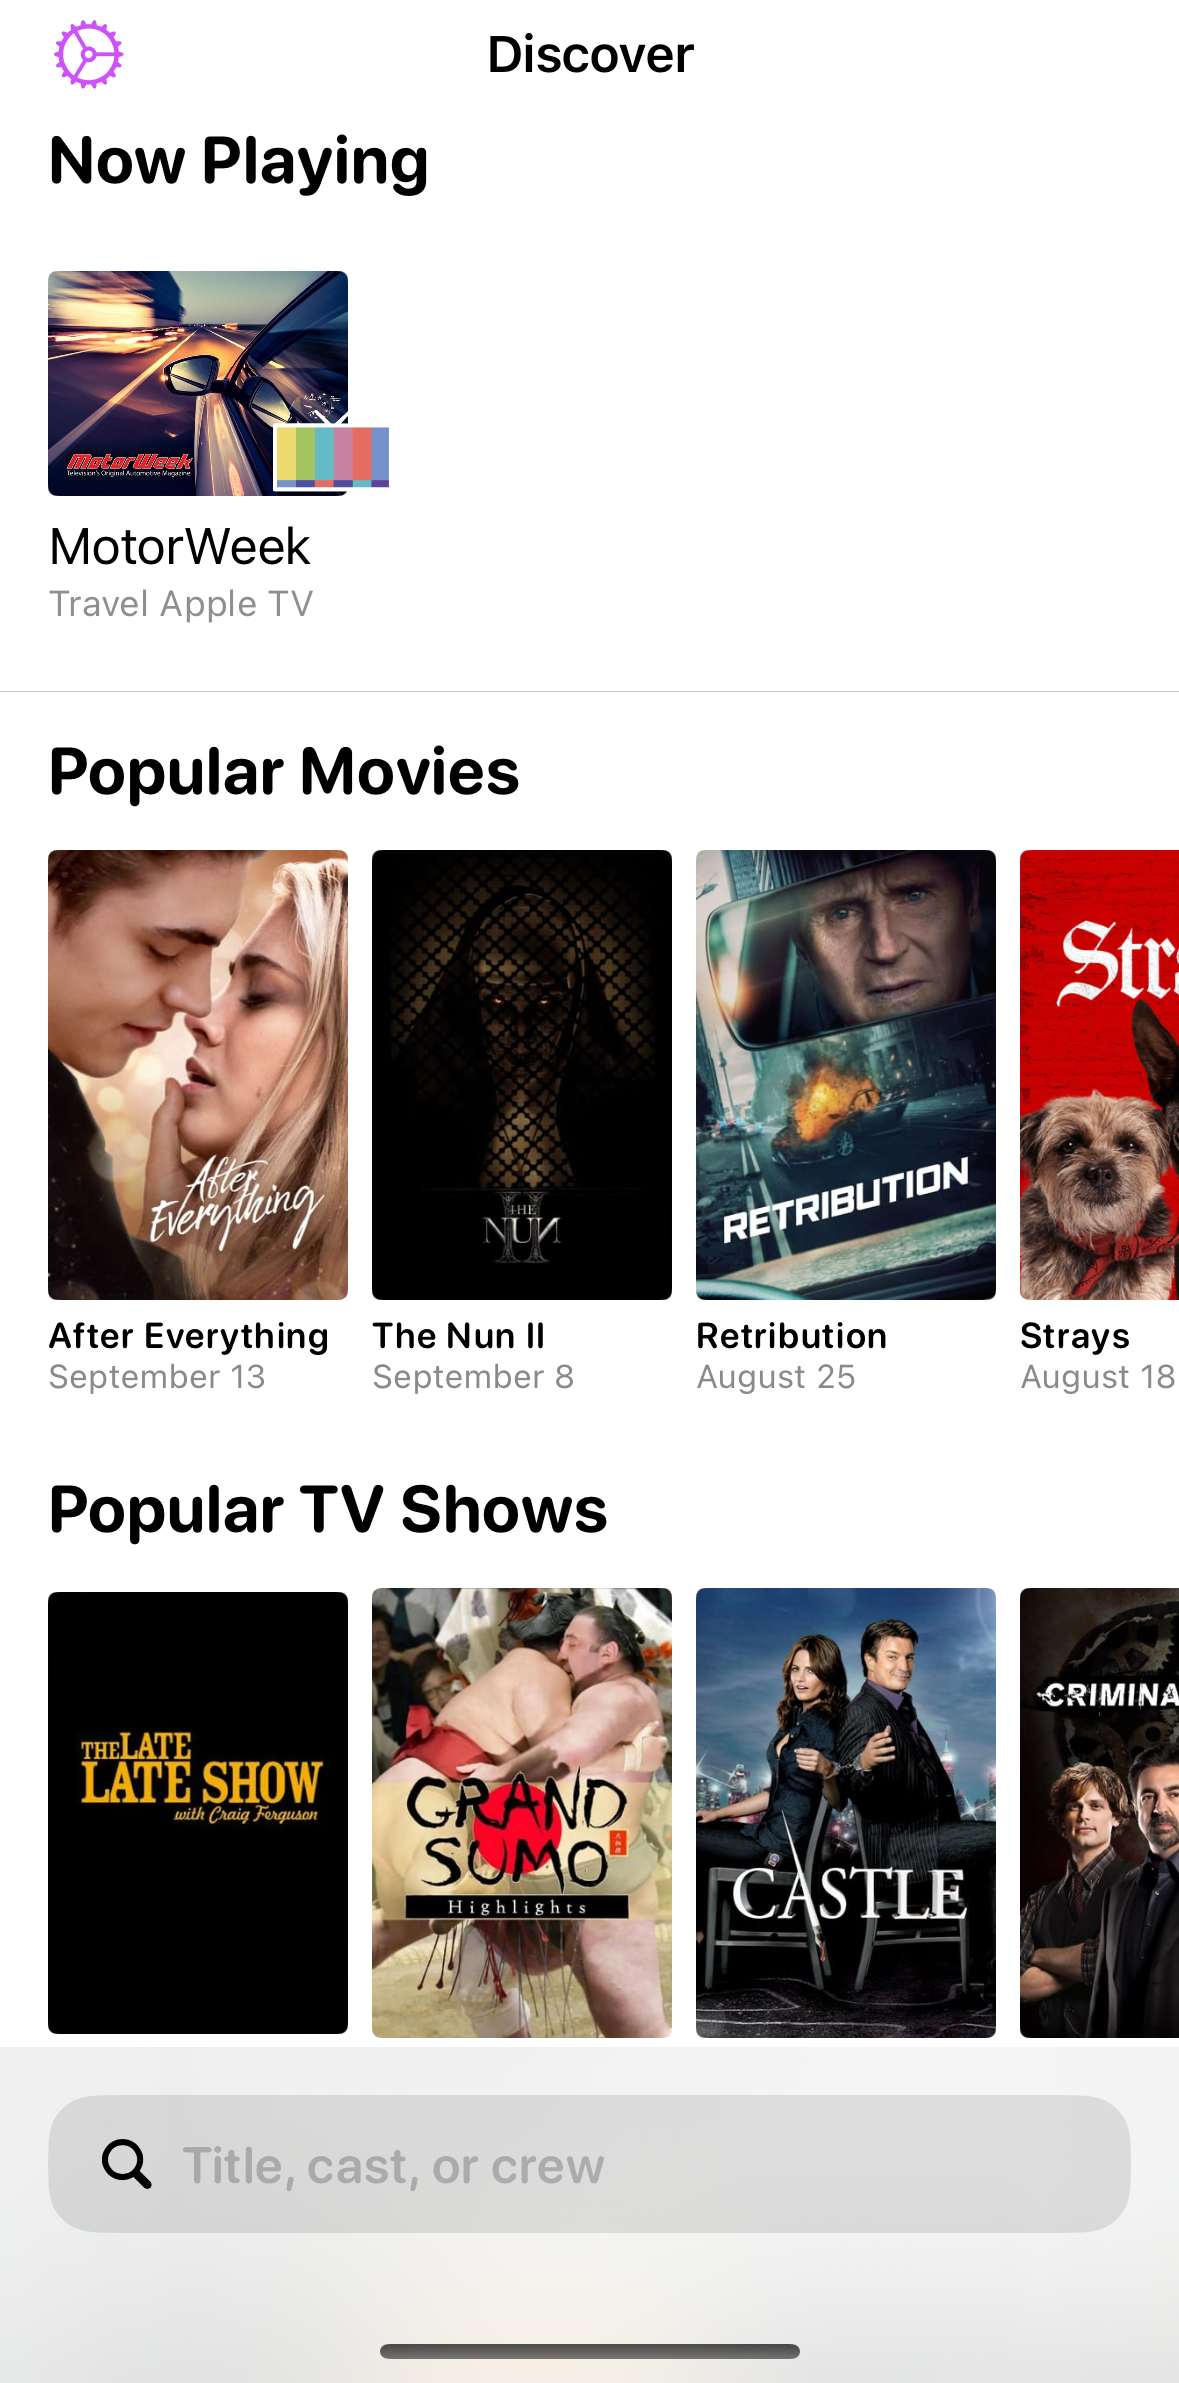
Channels uses Bonjour under the hood, which is — naturally — extremely well-supported in the Apple ecosystem. In my experience, the integration with Channels is pretty robust and reliable.
However, Channels doesn’t always provide The Movie Database ID to me — in fact, generally speaking, it doesn’t. This means tapping on an item will usually perform a search, rather than jumping you directly to the show in question. When Channels does provide Callsheet the TMDB ID, you’ll jump directly to the media in question.
Plex
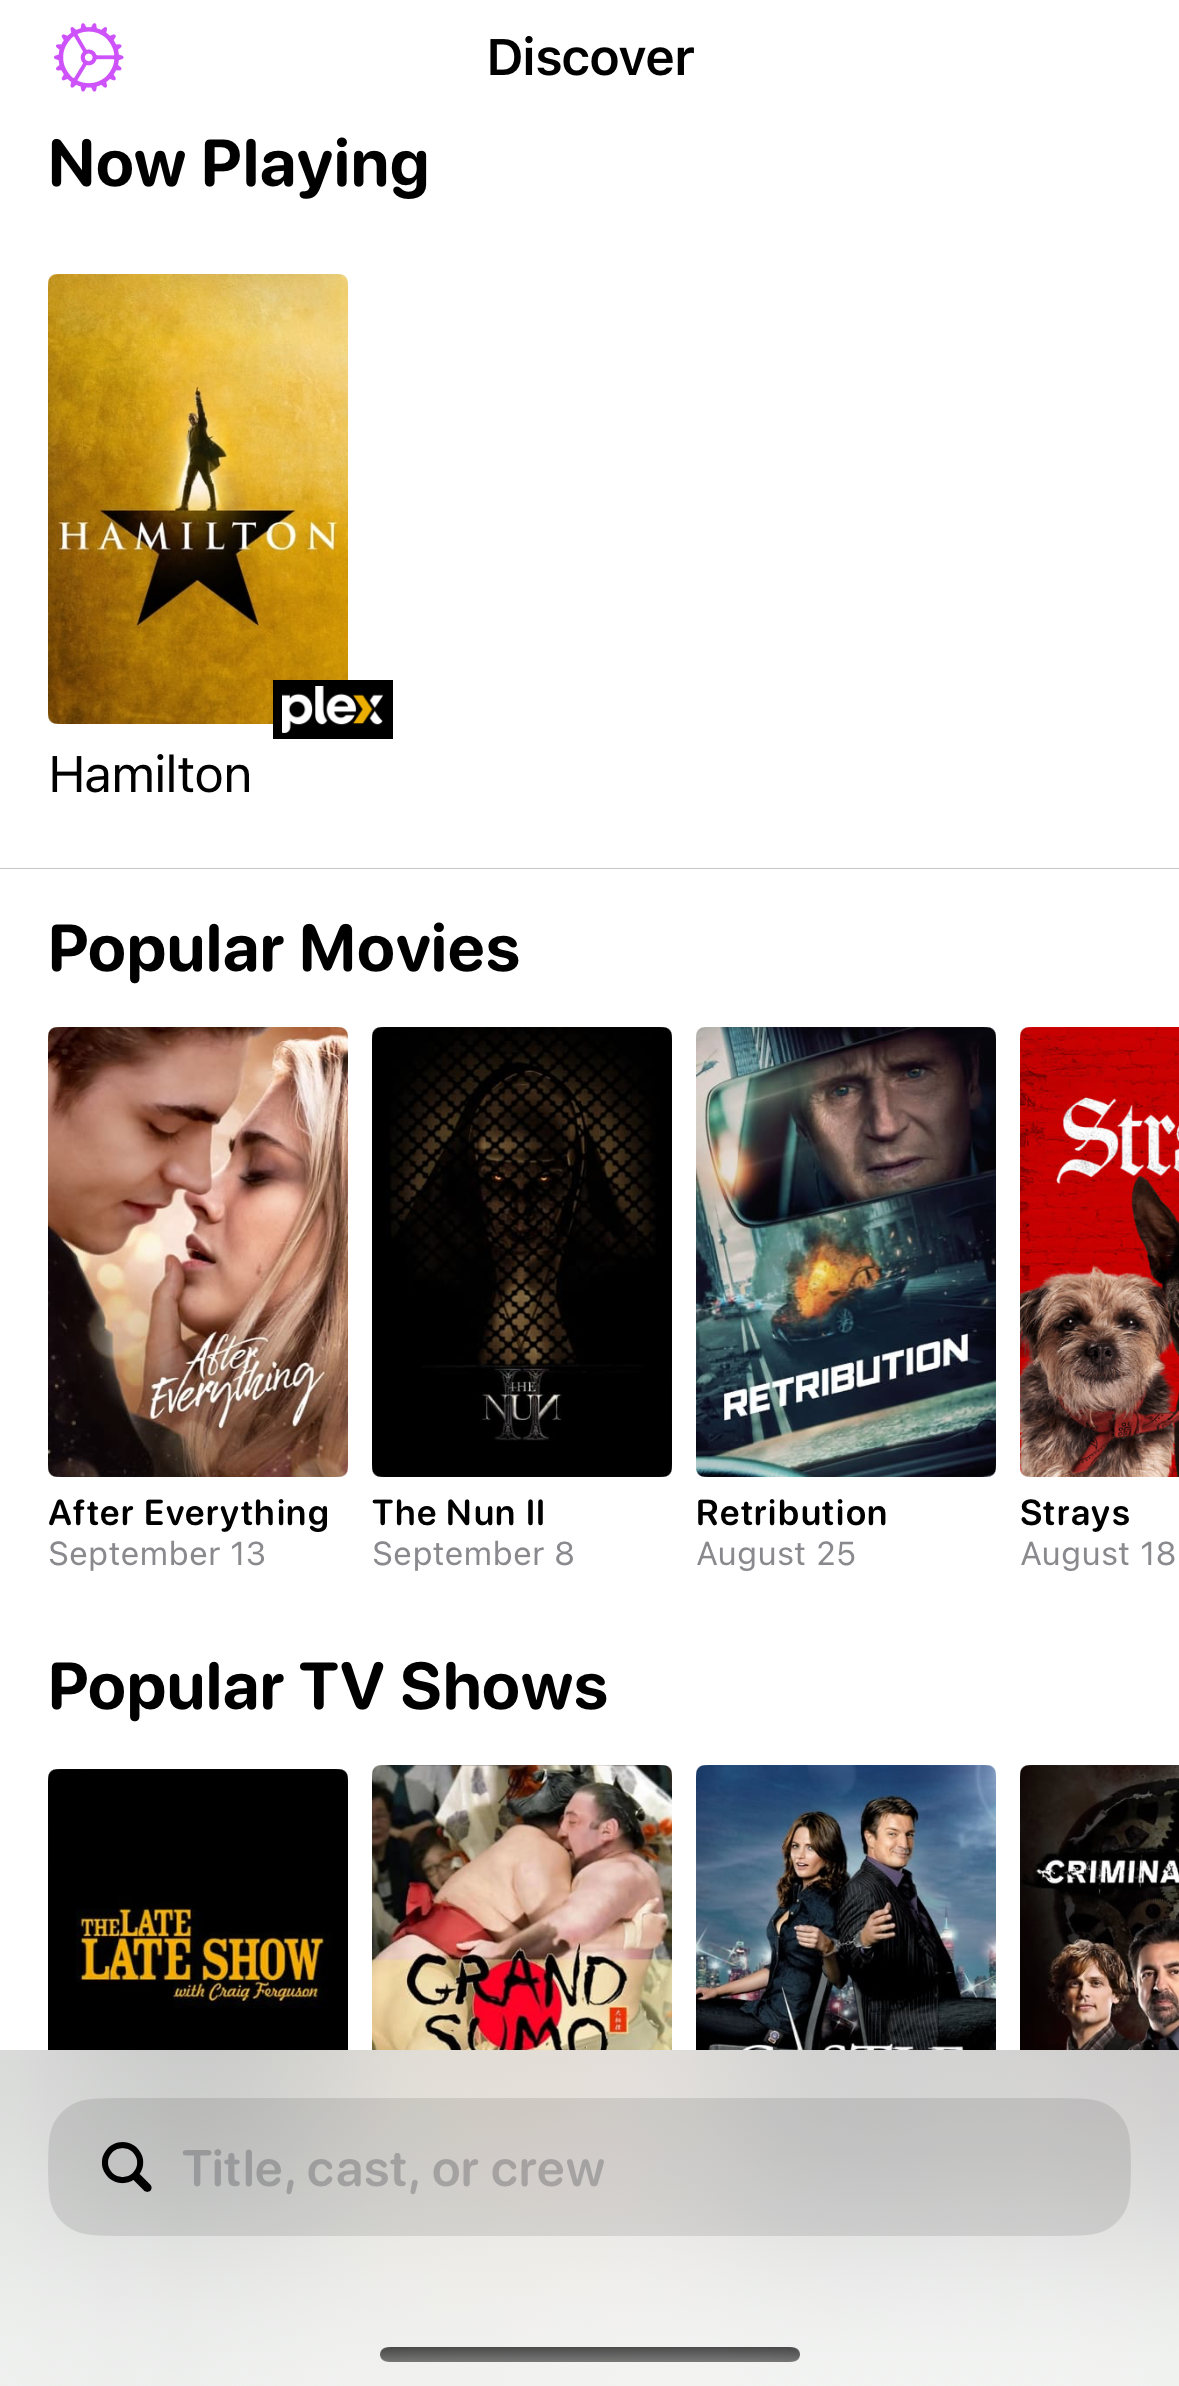
⚠️ The Plex integration should be considered experimental at this time. ⚠️
If you squint, Plex uses a similar scheme to Bonjour in order to discover players on the same network. However, Plex is old enough that it actually predates Bonjour. As such, the implementation is… rickety. Plex’s implementation works for Plex, but it was never really designed for use by other software. Like Callsheet.
That said, it… kinda works? When it does, like the Channels integration, it’s pretty damned magical:
Many thanks to my pals Alex and Hugo; without their combined efforts, there is literally zero chance this would have shipped.
Unfortunately, there aren’t really any levers that I’m aware of that I can pull in order to improve Plex integration. It seems to depend on the “weather” in your local network. So, uh, no promises. 🫣
The press tour continues!
Late last week I sat down with Pete Wright on his podcast, The Next Reel Podcast. It’s always a pleasure to join someone in their space, but doubly so when that space is not one I typically travel within. Naturally, I had a lot of fun talking to Pete about Callsheet.
Pete did a great job of unpacking some of my thought processes while creating Callsheet, as well as why I made a bunch of the choices I did. It was great to have someone who is technical to talk to, but who comes to Callsheet more as a movie lover than an Apple nerd. Though Pete is unequivocally both.
The episode is just over 30 minutes — somehow Pete was able to keep me far more concise than I normally am! I had great fun, and I suspect you’ll enjoy it, too.
When working on Callsheet, I tried to do my best to make it accessible for users who do not have perfect vision. Thankfully, Apple has some extremely robust APIs to do this sort of thing. Further, when using SwiftUI, you get a lot of it for free.
During WWDC, I actually had a lab with some accessibility experts, who gave me a plethora of invaluable tips on how to improve Callsheet’s VoiceOver support.
This week, I was honored to have Brian Fischler ask me to join him on That Real Blind Tech Show. On the episode, we start of by discussing Brian’s appearance on the American Top Gear, but quickly get to chatting about Callsheet, its origins, and how I approached accessibility.
I’m genuinely honored that Brian offered to have me on the show, and I’m so thankful to hear that Callsheet’s accessibility affordances seem to have hit the mark.
The episode is a different spin on the standard “press tour”; I’d love it if you gave it a listen.
It’s been busy around here, between Callsheet, its first update, and the start of school for both my kids. 😱
Thus, I’m late in linking to my appearance on Mac Power Users. MPU is an absolute institution, and though this was my fifth appearance on the show, every darn time feels like an incredible honor. Plus, I revel in any excuse to talk to my pals Stephen and David.
On this episode, we discussed the genesis and launch of Callsheet, but predominantly, spent time talking about how I manage my media. Which mostly means Plex, but also Channels, HDHomeRun, and more. If you’re interested in taking control of your media, this is a great place to start.
Callsheet has been out for a little while now, and has gotten some really lovely press coverage. Both as a marketing tactic, and as a way for me to remember, here’s what I’ve seen so far:
-
John Voorhees at MacStories
Callsheet is the only app I’ve seen that lets users precisely dial in the amount of information it reveals about a TV show. -
D. Griffin Jones at Cult Of Mac
We did a video interview a month or two back, when Callsheet was still under development. You can see the video and its transcript on Cult of Mac’s site, or watch the video on YouTube. -
Chance Miller at 9to5Mac
Callsheet packs a trove of data into a wonderfully designed, fast, and easy-to-use app on iPhone and iPad. -
Stephen Hackett at 512 Pixels
Callsheet is the indie app scene at its best — taking on a huge app written by people who don’t seem to care about their users — and doing a better job at it in every single way. -
Sarah Perez at TechCrunch
In trying out the app, Callsheet is easier to use than IMDb, we found. In part, that’s because The Movie Database’s API for developers is fairly speedy, as Liss notes, but also because the app isn’t filled with so much clutter. That makes it quicker to get to the information you wanted to see, without so much searching around and tapping. -
John Gruber at Daring Fireball
I’d been vaguely wishing that there were a top-notch native iPhone TMDB app. Callsheet is that app. I’ve been beta-testing it for months, and ever since, Callsheet has been one of the few apps I use almost daily. Super-useful, super-convenient. -
Jason Snell at Six Colors
I especially appreciated Callsheet’s integration with other services. It links out to IMDB itself for trivia, and—my favorite—it uses JustWatch to provide instant information about where a movie or TV show is available to stream. He’s even got a “hide spoilers” feature to prevent you from finding out that Idris Elba isn’t actually in the last two seasons of that show of his. -
Florian Innocente at iGeneration
I was really pleased to see some international coverage! I really need to start looking into localization… -
Brent Dirks at AppAdvice
Another great feature is the ability to customize a Quick Access link on a movie or TV show page. You can choose to quickly access IMDB trivia, the Wikipedia entry, the website, where to watch, or parental guidance information. -
Candice Clark at Fagen Wasanni Technologies
Overall, Callsheet is a valuable tool for those who frequently seek information about the cast and crew behind the movies and TV shows they watch. It provides a faster and less distracting experience compared to traditional apps and websites like IMDb, allowing users to focus on the content they are watching. -
Editorial Team for the Apple App Store
Callsheet is a showbiz encyclopedia for everything you want to know about a movie or TV show. Get cast and episode info, plus discover something new to stream. Afraid of seeing spoilers? Toggle them off to avoid unintended surprises! -
David Pierce at The Verge
I hate the IMDb app and the website with the huge banner telling you about the app. Callsheet is way better: a super-fast iPhone and iPad app for looking up cast and crew in whatever you’re watching, and JustWatch integration in case you wind up finding something more interesting to watch. (This was also by far the thing I heard most about this week — thanks to everyone who sent this in!) -
Jarrod Blundy at HeyDingus
It’s unlikely that you haven’t heard about Callsheet yet this week, but I’m here to pile on the praise. I’ve been using Casey’s app throughout the beta period, and it’s been solid from day one. -
Jason Tate at Chorus.fm
Instead of suffering through the nightmare that is the IMDB app (or website), let this be the first app you open so you can get your answer and get back to the show.
Call Sheet is a great, fast-loading, easy-to-use app that does what it says it does with no superfluous crap. -
Mikah Sargent (and Rosemary Orchard) at iOS Today
This is a video show, so Mikah does a very walkthrough of the iPad app. Mikah’s segment starts at around 56 minutes. -
Jason Snell at Macbreak Weekly
Another video show, Jason has a great discussion about Callsheet, that starts just shy of two hours into the show. -
John Tornow at Air Mail
Callsheet’s best feature? The ability to hide spoilers when browsing. Not interested in learning that your favorite protagonist gets killed off after two episodes? No problem. -
Zac Hall at 9to5Mac
Anyway, Callsheet is good. Very good, actually. Callsheet is easily the most attractive and streamlined way to realize that “ahhh, that’s Carey Mulligan who played Daisy Buchanan in The Great Gatsby from 2013″ before going back to the movie you just paused. -
Jason Tate at Inc.com
Earlier this year, I had a conversation with my co-host of Primary Technology about our favorite new-ish apps. As we talked, we both immediately agreed that the app we thought deserved the title was Callsheet, from independent iOS developer Casey Liss. -
Becca Caddy at iMore
Someone in Callsheet’s reviews said “It’s like if Apple made IMDb” and I haven’t been able to stop thinking about what a perfect comparison that is. It’s no wonder Callsheet has previously won an “Editor’s Choice” award on the Apple App Store.
UPDATED 22 April 2024 1:30 PM: Added iMore post
UPDATED 27 February 2024 10:00 AM: Added Inc.com post
UPDATED 2 January 2024 05:15 PM: Added 9to5Mac end-of-year post
UPDATED 5 September 2023 04:00 PM: Added Air Mail
UPDATED 17 August 2023 08:30 AM: Added chorus.fm, iOS Today, and This Week in Tech
UPDATED 13 August 2023 03:00 PM: Added the App Store (!), The Verge (!) and HeyDingus
UPDATED 10 August 2023 10:30 AM: Added AppAdvice & Fagen Wasanni links.
UPDATED 9 August 2023 10:15 AM: Added link to iGeneration.
UPDATED 8 August 2023 7:00 PM: Added link to Six Colors.
Today, I’m overjoyed to announce the release of my latest app, Callsheet.
Callsheet, in short, allows you to look up movies, TV shows, cast, and crew. You can think of it as similar to the IMDb app but… with respect for its users. Which, actually, makes it not like IMDb at all. 🙃
When I watch a movie or TV show, I’m constantly trying to figure out who that actor is, who the director is, and so on. Early this year, I wanted a way to look this up that was native to iOS/iPadOS, but also fast, with no fluff that I wasn’t interested in. I wanted a bespoke version of the IMDb app.
So I wrote it. It’s called Callsheet, and I’d love for you to try it. Callsheet is a subscription-based app, and all subscription plans have a one-week free trial. Additionally, your first twenty searches are free, so you can really get a feel for it before you subscribe.
Some of my favorite features of Callsheet are quality-of-life improvements for me, and I suspect they will be for you, too.
My favorite features — other than Callsheet’s speed — are the affordances for avoiding spoilers in TV shows. If you’ve seen the amazing TV series Watchmen, you’ll know that there are characters with hidden identities. When I was watching the show back in late 2019, one secret identity was spoiled by that character’s listing in IMDb.
Never again.
In Callsheet, you can optionally enable a series of spoiler-avoidance affordances:

If I were to turn on just the Hide cast character names toggle, I wouldn’t get
spoiled on any secret identities:

What if a character in a series is killed off after only one episode? If that
actor only appears in one episode, that’s a giveaway too. Hence the
Hide cast episode counts toggle.
Furthermore, if you’re looking at the list of episodes in a season, a poorly-chosen
thumbnail or episode title could give things away. Those are covered with the
Hide episode titles and Hide episode thumbnails options.
One of my favorite things to do when watching anything is to look at the trivia that IMDb offers. I hate that to find it in the IMDb app is a seek-and-find adventure that is often changing. In Callsheet, you can choose to place it front-and-center; it’s the speech bubble with bullets inside it:

But not everyone cares about trivia. Using the Quick Access Link setting, you
can choose what button is available for quick access:

Whichever link you prefer is quickly available next to the More… button. This
includes the oft-requested-by-beta-testers Where to Watch screen:

There are plenty of other useful features, like pinning items you want to refer to quickly and easily; iCloud-powered sync of your pins, spoiler preferences, and more; recent search history; locale and language customization, and more.
Callsheet supports iPhone and iPad, though improved iPad support is going to come ASAP. As mentioned, Callsheet requires a subscription, and is (at the time of this post) $1/month or $9/year.
Optionally, if you’d like to support me further, you can elect to subscribe
at $20 or $50 per year. These optional tiers, listed under the
More Purchase Options… link in the app, give you no additional perks other
than my undying love. If you enjoy the work that I do, and wish to support me
further, please feel free to choose one of those options. 😊 Again, all
subscriptions come with a 1-week free trial for new subscribers.
Callsheet uses the wonderful The Movie Database as its backend. Their API is very good, very easy to write against, and leaves little to be desired. And more importantly, it’s fast. Really fast.
An immense THANK YOU is owed to the people featured in the About Callsheet
screen in the app. My family, most importantly, for all the love and support a
guy could ever ask for. To my pal Jelly for making my craptacular icon
mockup into something gorgeous. To my pal Ste for making the screenshots,
with just the right amount of dad jokes in them. To my pal Ben for
vastly improving the way Callsheet looks. To my pal Craig for both
design and technical tips.
Also, to all the ATP members that also chose to beta test Callsheet. Having a big-ish beta testing pool was far more helpful than I ever imagined, and a lot of bugs were squashed, and features implemented, thanks to the tireless efforts of all of you. Thank you.
Some quick statistics, because I can’t help myself:
- Total commits: 727 (though there were many squashed merges)
- First commit: 30 January 2023
- Build for App Store: 27 July 2023
- Days to first release: 178 days
- Lines of code: 14,232 lines of Swift, 673 of Text/XML/Markdown, for a total of 14,905.
- Beta builds: 102
- First screenshot: Dated 3 February, and really basic
Yesterday I joined my friends Dan Moren, Mikah Sargent, and Guy English on Clockwise.
On this episode, we discussed how we manage charging, how we manage windows, how we manage weather, and how we manage travel.
Clockwise is such a change from my normal podcasts, because it’s so darned fast. Which makes it the fun kind of stressful. :)