Curiously, it all started with a trip to Disney World.
We went for my son’s fifth birthday. He hadn’t been to Disney since he was barely more than an infant. Our daughter, Mikaela, had never been.
Ever-so-independent, even just shy of two years old, Mikaela had strong
opinions about everything when she was willing to ride in the stroller.
After a few days at Disney, my wife and I discovered what would calm
her down: browsing the Photos app on our phones, looking at the pictures
we had taken on the trip so far.
This was utterly terrifying.
Photos isn’t really designed for this, and makes it possible — if not easy — to delete or edit photos. Given that these were the only copies of photos we had taken on the trip, I was scared that Mikaela would accidentally delete one or more of them.
Once we got home from our trip, I knew which app I wanted to write.
Peek-a-View
Peek-a-View is, at its core, a read-only photo browser.
It is designed to be safe to hand to anyone, and know that you’re not going to need to worry about the safety of your photos.
When paired with Guided Access — the Apple tool that lets you lock your phone into one app — it is the perfect Mikaela-safe photo browser.
Peek-a-View can be used for other reasons though. Perhaps you’re showing off a series of screenshots to a client. Perhaps you want to share your vacation pictures with a friend, but only your vacation pictures. Peek-a-View also lets you select a particular album to view, thus limiting inquisitive eyes to only the photos you know are safe.
Purchase
Peek-a-View, like Vignette, has a free tier, with a one-time $5 purchase to unlock more functionality.
Peek-a-View is limited to showing only the 20 most recent media items for free; the unlocked version has no such limit. Furthermore, if you do unlock Peek-a-View, you also get a series of fun alternative icons you can choose from.
 Business Casual |
 Eco Friendly |
 Flat and Friendly |
 High Contrast |
 Trendy |
Thanks
I owe a great debt of gratitude to my friends Jelly and Ste. Jelly (of GIFWrapped fame) gave me a ton of technical help, and some design pointers as well. Ste (more at his website) did the app icon, store screenshots, as well as providing many suggestions for Peek‑a‑View’s design.
I’d be honored if you gave Peek-a-View a try, and even more so, if you decided to throw a few bucks my way for making it.
This week I joined Jonathan Ruiz and Mark Fransen on their tech show, Everyday Robots. On this episode, we discussed my history as a developer, my journey into being an iOS developer, and finally my transition into being an indie.
Though Analog(ue) is probably the canonical podcast series about my history and journey of the last few years, this episode of Everyday Robots is a really terrific summary. If you want a ~75 minute answer to “who the hell is Casey?”, this episode is it.
On a recent ATP, I recapped my family’s recent trip to Disney World. It was brief, but it was fun.
Glenn & Chris of the Starport75 podcast reached out and asked if I would be interested in joining them on their Disney World podcast.
Um, yes.
On this wide-ranging episode, we discussed my history with Disney, the Disney Dining Plan, photo strategies, Galaxy’s Edge, DVC rentals, and the Disney Cruise Line.
It was a ton of fun to join Chris & Glenn; they were gracious hosts and let me blab more than I probably should have.
If you’re a Disney fan at all, you should check it out.
This week I joined Lisa Schmeiser, Dan Moren, and Mikah Sargent on Clockwise.
In this episode, we discussed our [probably questionable] security practices, services we yearn for, Twitter’s experiments with reply limitations, and apps we’ve recently fallen in love with.
Fast and fun without fail, Clockwise is always a blast.
One of my favorite holiday traditions — the Do By Friday holiday party — has happened again. As with last year’s, my fellow ATP co-hosts and I joined the Do By Friday hosts, including Kevin Budnick, to have a holiday party.
To discuss the goings-on of the episode is to take an express train to Spoiler City, so I’ll just say that this one was a fun one.
As with all programming posts, we start with a completely contrived example that makes no sense in the real world.
Say you’re writing ListOfIntegers, which is, well, a list of integers. In the
real world, you’d absolutely use Array<Int> or something similar. Just go with
me on this.
We can start this way:
class ListOfIntegers {
    typealias Element = Int
    private var backingStore = [Int]()

    init() { }
    init(_ value: [Int]) {
        self.backingStore = value
    }
}
At a minimum, you probably want your ListOfIntegers to be a Sequence, so
you can iterate over your list. Thus, you need to provide a makeIterator()
function. This provides the Iterator that will allow Swift to perform that
iteration.
Creating an Iterator seems like a whole lot of work, involving making a whole new
subtype. No thanks. I’m lazy; that’s why I’m a developer.
AnyIterator
This week I discovered a very neat shortcut: AnyIterator<T>. When I first
saw this struct, I thought it was simply there for the purposes of type erasure.
Looking through the class documentation, however, I found this gem:
/// Creates an iterator that wraps the given closure in its next() method.
init(_ body: @escaping () -> Element?)
Wait… what?
If you look at IteratorProtocol, it’s rather simple:
public protocol IteratorProtocol {

    /// The type of element traversed by the iterator.
    associatedtype Element

    /// Advances to the next element and returns it, or
    /// `nil` if no next element exists.
    mutating func next() -> Self.Element?
}
Suddenly AnyIterator<T>'s init(:)'s comment makes sense:
Creates an iterator that wraps the given closure in its
next()method.
By providing a closure to the init(:), we can provide an implementation for
this Iterator’s next() method. Sweet!
Adding an Iterator to ListOfIntegers
We can leverage this to easily add an Iterator to our ListOfIntegers:
class ListOfIntegers: Sequence {
    typealias Element = Int
    private var backingStore = [Int]()

    init() { }
    init(_ value: [Int]) {
        self.backingStore = value
    }

    func makeIterator() -> AnyIterator<Int> {
        // We establish the index *outside* the
        // closure. More below.
        var index = self.backingStore.startIndex
        // Note the use of AnyIterator.init(:) with
        // trailing closure syntax.
        return AnyIterator { () -> Int? in
            // Is the current index before the end?
            if index < self.backingStore.endIndex {
                // If so, get the current value
                let currentValue = self.backingStore[index]
                // Set a new index for the next execution
                index = self.backingStore.index(after: index)
                // Return the current value
                return currentValue
            } else {
                // We've run off the end of the array, return nil.
                return nil
            }
        }
    }
}
A couple things to note here:
- We’re expressly returning
AnyIterator<Int>instead of the defaultListOfIntegers.Iterator. The latter would require us to have a secondtypealiasto specify the type of theIterator; by being explicit, the compiler can inferListOfIntegers.Iteratorto beAnyIterator<Int>. - When I first wrote this, I made the rookie mistake of creating
var indexwithin the closure. This meant that every time the iterator was asked to move to the next element, instead it just started over. 🤦🏻♂️ Thus, it’s important to create yourindexoutside the closure, so it doesn’t get reset every time you callnext(). - Since we’re using an
Array<Int>as our backing store, a much simpler implementation would be to simply
but that would defeat the purpose of this post.func makeIterator() -> Array<Int>.Iterator { return self.backingStore.makeIterator() }
I don’t often find myself in a situation wherein I need to create a custom
Sequence; much less, a custom Iterator for that Sequence. However, when
I find myself needing a custom Iterator in the future, I’ll certainly start
with AnyIterator<T>.
If you’d like to play with this in a Playground, I’ve put the code up in a gist. Just copy/paste that into a new Playground.
It’s the holidays, so the ATP Store is back!
For this season, we have a new retelling of an old story. We’re
continuing to suck what we can out of returning to the //////ATP logo,
but this time, doing so in six colors and two modes.
All the shirts are available in both men’s and women’s cuts, in tri-blend and 100% cotton.
First we have ATP’s take on the Six Colors theme:

Additionally, we have the same in Dark Mode:

We also have some older merchandise returning:
Everything except the pins is available for pre-order until Sunday, November 17. Don’t miss out! Every year we hear stories of people who procrastinated, and then missed out! Don’t be that person. Order now!
I can’t remember the first time I saw Sneakers, but I was surely no more than around ten years old. A nerd since birth, but more recently discovering my future as a computer nerd, Sneakers spoke to me like few movies of the time were able to. It was fun, interesting, and exciting.
I didn’t understand half of it, but I didn’t care.
As a grown man, I can see there’s so much more to Sneakers than I had ever understood as a kid. It’s a much deeper movie than I gave it credit for, and in these awful times, more prescient than I’m comfortable with.
As I’ve said before, I consider The Incomparable to be the major leagues of podcasting. I’ve appeared on the show a couple times before, and every time, it’s a tremendous honor.
On this episode, I was joined by host Jason Snell, my ATP co-host John Siracusa, Erika Ensign, and Dan Moren to discuss the film. I had a blast, and if you’re my kind of nerd, I think you will enjoy it too.
One of these days, if I’m asked to return, I’ll remember to come up with a pithy closing remark. 🤦🏻♂️
This week I joined Brianna Wu, pinch-hit blast-from-the-past host Jason Snell, and my long-lost-twin Dan Moren on Clockwise.
In this episode, we discussed our plans for macOS Catalina, the software/hardware we’d most/least like to lose, good OSes on bad hardware, and the legality of accessibility on the web.
Clockwise is always fun and always fast. If you’ve somehow missed out on the show so far, today’s a great day to jump in.
As discussed on recent episodes of ATP, I’ve had some issues with my iMac
lately. A trip to the Apple Store and new logic board later, I had functional
hardware but no software installed upon it. Finally, I had the opportunity to
try out something I’ve been preparing for a long while: my Brewfile.
Much in the spirit of Ruby’s Bundler, Homebrew has Bundle. For both Bundler and Bundle, you provide a file with a list of software/dependencies you want installed, and the apps will install them automatically. In the case of Bundler, it’s all Ruby gems; in the case of Bundle, it’s command line apps, Mac apps, and even fonts.
Last week, I loaded up my iMac from scratch using a Brewfile I had been adding
to over the last couple years. Finally getting the opportunity to use it has
given me the opportunity to refine it.
These refinements ended up being extremely convenient, as just yesterday I decided to nuke my MacBook and reload it to try to get it operating properly. Thanks to Bundle, that took considerably less time than it would have in years past.
All it took was having ~/Brewfile, and then running
brew bundle install
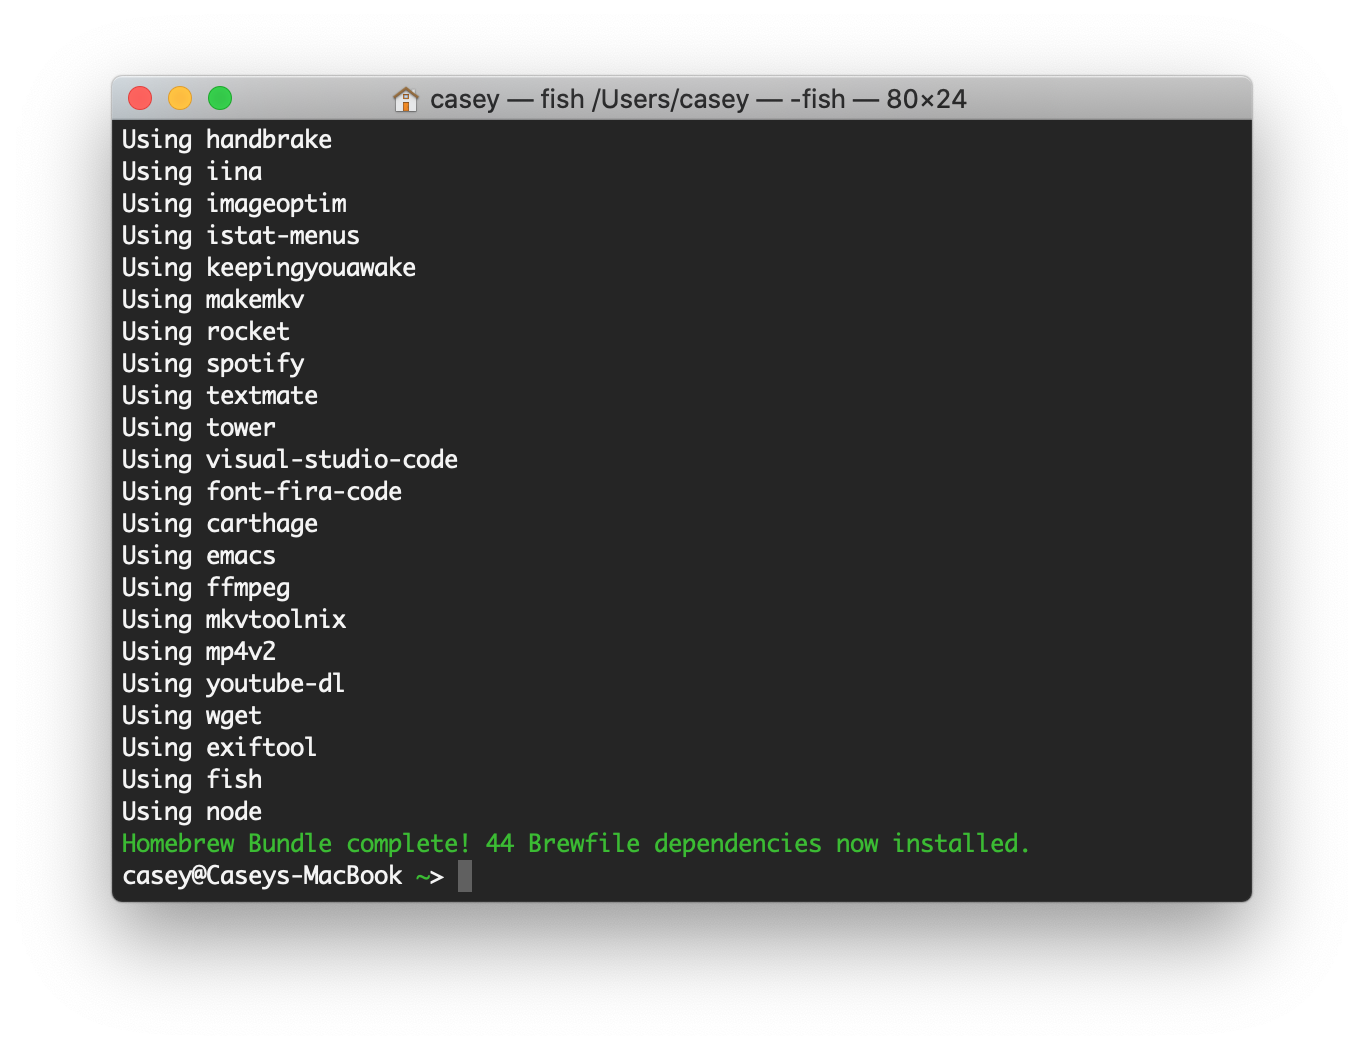
Give it a bit of time — a lot if you’re installing Xcode — and just like that most/all of your favorite software is installed. All in one easy peasy command line incantation.
I can’t overstate how much time this has saved me. 🥳
Furthermore, as I add new items to my Brewfile, I can feel free to run
brew bundle install again. It will automatically skip software that’s
already installed. In fact, the screen shot above was me re-running Bundle
long after it had worked its magic.
Your Brewfile is unique to you; it’s a distillation of your own particular
toolchains and requirements. There are many like it, but this one is mine.
UPDATED 2019-10-09 3:00 PM: Several people have asked “okay, but, how do I
create a Brewfile to begin with?”
For me, I went spelunking through /Applications to see what I had and what I
knew I couldn’t live without. Generating my Brewfile from scratch was, to no
small degree, the point.
If you’d like to take a shortcut to get yourself started, you can do:
brew bundle dump
This will create a Brewfile of everything Bundle recognizes on your existing
system. At that point, you can go through and cull what you don’t think you
really need.